Tuesday, February 28, 2012
Windows 7 is far better than previous windows versions ( Vista). The install process is plain simple and easy to follow. Big Bravo! for Microsoft for this. Now, just follow these steps and you will install windows 7.

As like with any OS installation, there are prerequisites before the installation process. When you run the Windows 7 Setup program, you must provide information about how to install and configure the operating system. Thorough planning can make your installation of Windows 7 more efficient by helping you to avoid potential problems during installation. An understanding of the configuration options will also help to ensure that you have properly configured your system.
Here are some of the most important things you should take into consideration when planning for your Windows 7 installation:
- Check System Requirements(like below) usually you find it in agreement or DVD case of your OS.)
- Check Hardware and Software Compatibility (below)
- Determine Disk Partitioning Options. ( usually 2 partition is enough)
- Complete a Pre-Installation Checklist (list of application software that you might add after the OS installation. If your computer has the same specs listed below,be careful of installing many application software. It can cause your system halt on.)
Microsoft states the minimum recommended specs for Windows 7:
- 1 GHz 32-bit or 64-bit processor
- 1 GB of system memory
- 16 GB of available disk space
- Support for DirectX 9 graphics with 128 MB memory (to enable the Aero theme)
- DVD-R/W Drive
- Internet access (to activate and get updates) ( although you can do it manually having crack by removing windows activation)
Installing Windows 7, the same like the previous windows OS.First step, insert your Windows 7 DVD media into your DVD drive and make sure your BIOS is set to boot from the drive and reboot your computer. If you're asked to press a key to boot from DVD , press any key Pretty standard Windows setup screen will appear. By the way, I'm using Windows 7 Ultimate.If you like this ,just PM me.
32-bit or 64-bit Version?
You need to decide whether to install the 32-bit or 64-bit version of Windows 7. The Windows 7 installation disc package includes both 32-bit and 64-bit versions of Windows 7. Basically, the 64-bit version of Windows handles large amounts of random access memory (RAM) more effectively than a 32-bit system. So if you plan on using Windows 7 on a computer with more than 3 GB or RAM, I would strongly suggest to use the 64-bit version.
Note: Either way, you cannot use an existing 32-bit version of a previous OS to perform an in-place upgrade to a 64-bit version of Windows 7, and you'll need to format and install a fresh copy. Also, you cannot use an existing 64-bit version of a previous OS to perform an in-place upgrade to a 32-bit version of Windows 7.
Type of Installation
Basically, there are 2 approaches to installing Windows 7:
- Upgrade (In-place upgrade) - This option replaces your current version of Windows with Windows 7, and keeps your files, settings, and programs in place on your computer.
- Custom ("fresh" installation) - This option replaces your current version of Windows with Windows 7, but doesn't preserve your files, settings, and programs. It's sometimes referred to as a clean installation for that reason.
As always, a fresh installation is much better and I strongly recommend taking that track. Even if you've got an existing Windows XP/Vista OS on your computer, I would strongly recommend that you format it and install a fresh copy of the OS.

OO, some pretty lights as the setup program starts, a nice twist.
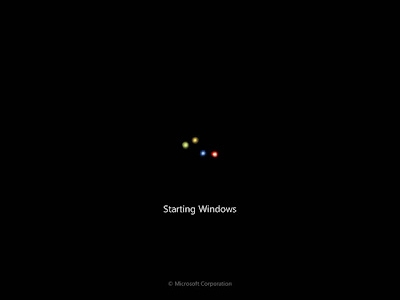
Next, a Starting Windows screen will appear.Pretty lights turn in to A Windows logo!!!

The advantage of windows 7 installation is more easier than windows XP because it will boot directly into the Graphical User Interface (GUI) mode. Therefore you can use mouse click as like installing an application software on desktop.
After a few moments you will see the first prompt to configure, its so easy as reading an A,B,C:

Click "Next" unless you want to change some regional settings for the installation process.
All I ever wanted was something to click on, pretty basic here, just select where you are and the language you speak.

Click on the "Install now" button. Since our aim is clean installation not repair. If you have windows 7 broken , try by click repair your computer.
Next, accept the license terms and click on "Next". If you want to read the agreement , use your mouse to scroll.

Press the Custom (Advanced) installation type button. If you are upgrading from Windows Vista select Upgrade, if you had Windows XP you have to select Custom (Advanced). Upgrade from Windows XP to Windows 7 is not available. Click Custom (Advanced). By the way kindly,please don't upgrade to avoid headache because fresh copy installation is recommended.

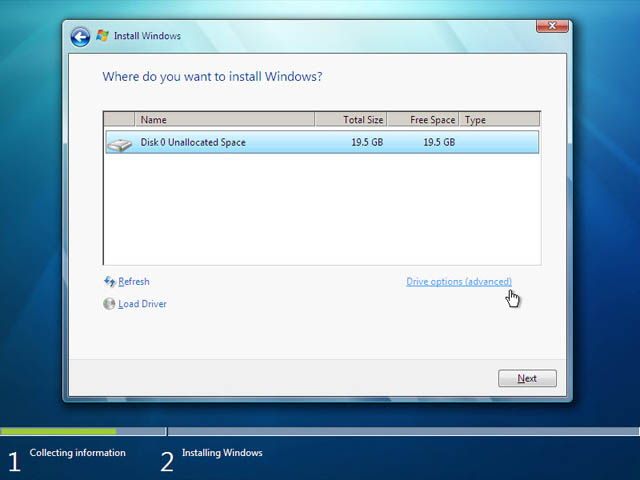
The next phase is to pick the installation partition. Since this computer has a new hard disk that hasn't been formatted before, you will only have the option to create a new partition on it.
If you don't want to specify a specific partition to install Windows on, or create partitions on your hard disk, click Next to begin the installation. If you already have another existing partition with enough free space and want to install the Windows 7 on that partition to create a multiboot configuration, select the partition you want to use, and then click Next to begin the installation. If you want to create, extend, delete, or format a partition, click Drive options (advanced), click the option you want, and then follow the instructions.Afterwards, the series of instructions,
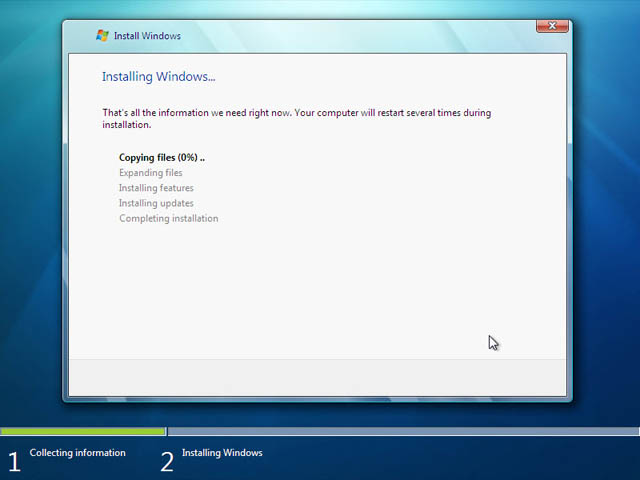
By clicking Next is the setup process will now begin to copy files from the installation DVD media to the hard disk.
Process could take a while depending on the type of hardware your computer uses.
The files copied over pretty fast, now on to the extraction process. This didn't take long at all, about 6 minutes.
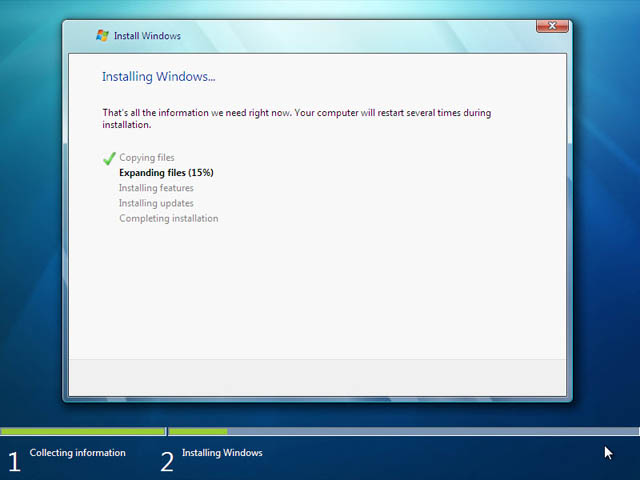
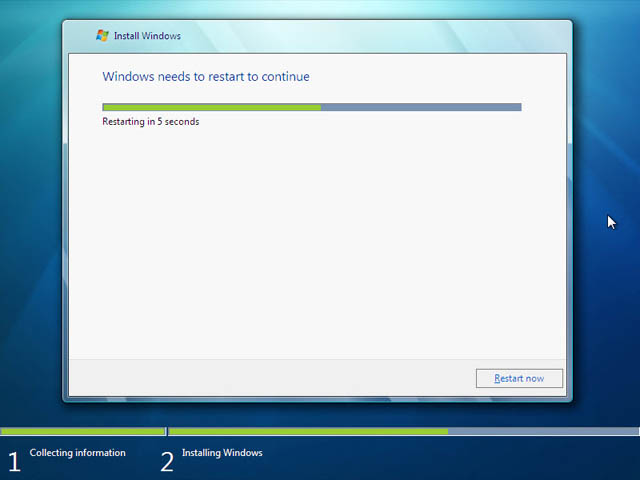
OK, so files were extracted, now setup needs a restart to continue.
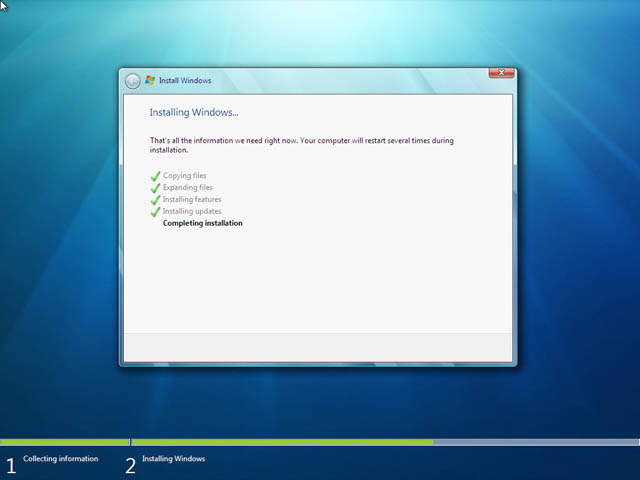
OK, so here we are, after the reboot and right back at it. Windows 7 starts services to continue installation.

A quick glance back over to Windows 7's installation progress bar. I think really just to see the "Completing Installation" text. Cute.
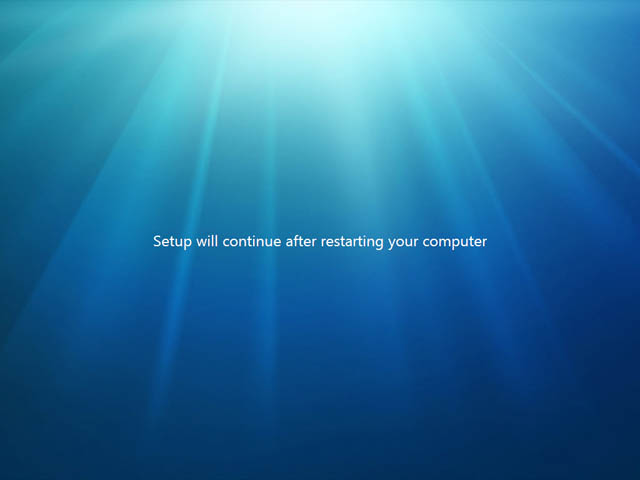
Alright, if my new Windows 7 wants a restart before it shows me my desktop goodness, then a restart it gets! The boot screen shots again...
Right to action! I love it, at this point I can almost feel Windows 7 running through my PC.
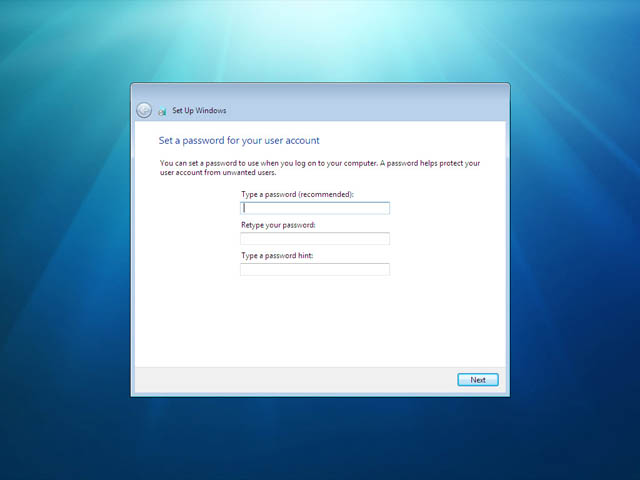
Enter the user's password. Remember this password, as it will be the ONLY user on the system, and unless you create an additional user or enable the built-in administrator account, if you forget this password you'll need to crack it to gain access to the system. The best option would be to choose a complex password made of at least 7 characters or more (something like RELAXCHOYANS143). You must also enter a password hint.(like WHAT AM I?)
Next, type in your product key. If you do not have the product key at hand you can still click "Next", and proceed with the installation. You will be asked to enter the product key after Windows is installed.This will install Windows 7 in a 30 day trial mode .Or forever by using REMOVEWAT...secret lang ha...lol

It's always good to set the clock! Windows 7 needs to know what time it is! You can really leave this as anything, just set your time zone and date. Once Windows 7 loads you can click on the clock and update from the Internet. Though I'm sure most people have previously set the time on their PCs, so Windows 7 should have that here already - just might need to change the timezone.

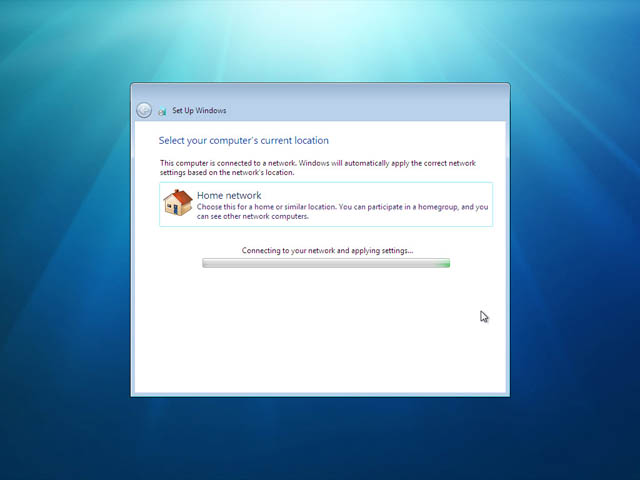
Picking the network location. Just as in Windows Vista, Windows 7 wants to know where you are, this determines how the OS will set file sharing and network discovery settings.Select your network location type. This setting can be changed later, but do note that choosing a profile will have effect on the Windows Firewall and sharing settings. Click on "Next".

Cool new feature for a Home group. This feels like setting up a Media Extender. I like the idea, even more security for your networked files, and with an 1-2-3 setup like just entering a network code in to Windows 7 to automatically join together it's even easier than setting up Windows shares and editing network properties, like a workgroup.
At this point - I can taste it! It just feels like it's almost done and I can't wait. Windows 7 here we come!
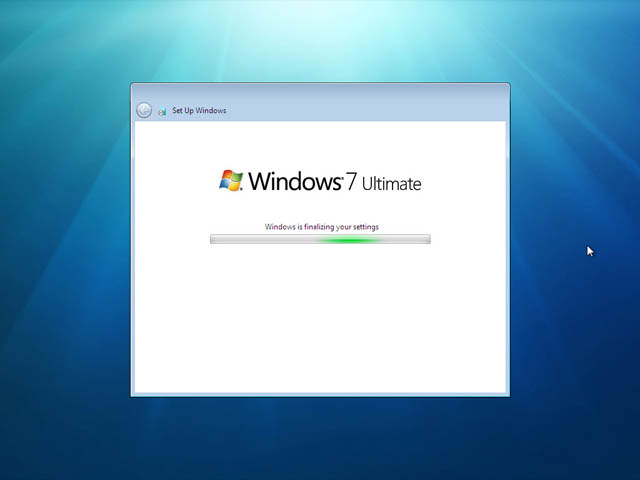
Windows will finalize the settings and your desktop will appear.

Hope you enjoy...God bless...and don't forget to share...
THANKS TO MY BEST FRIEND GOOGLE!!!
THANKS TO MY BEST FRIEND GOOGLE!!!
Subscribe to:
Post Comments (Atom)
0 comments:
Post a Comment
Note: Only a member of this blog may post a comment.